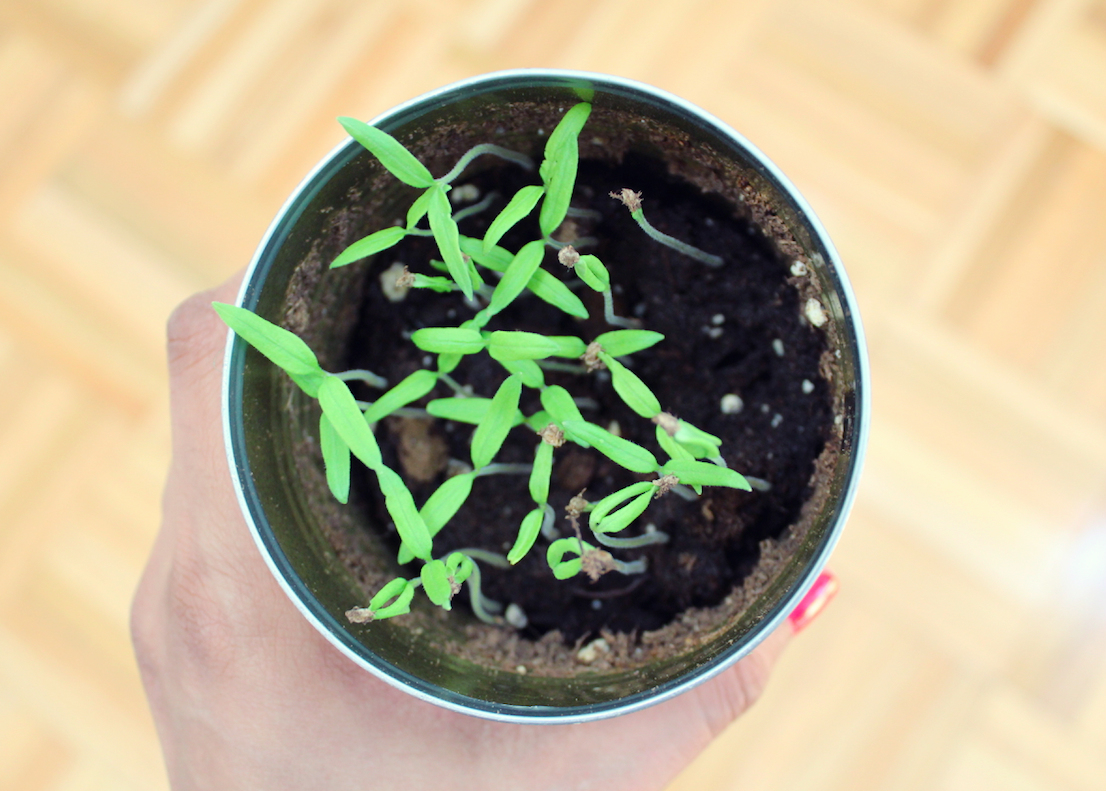
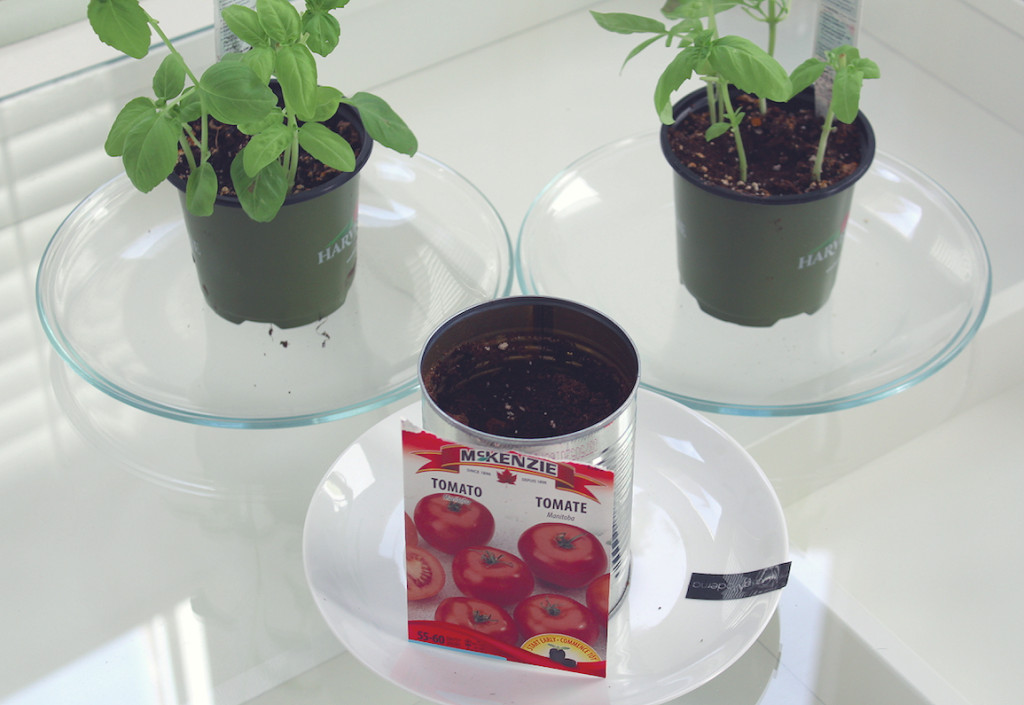
 I FINALLLLYY got around to planting some tomato seeds. I picked up some ‘initial’ potting mix from Lowes and made a container with a pretty decent drainage system using a tin can and a plate (making the drain holes with a good ol hammer and nail).
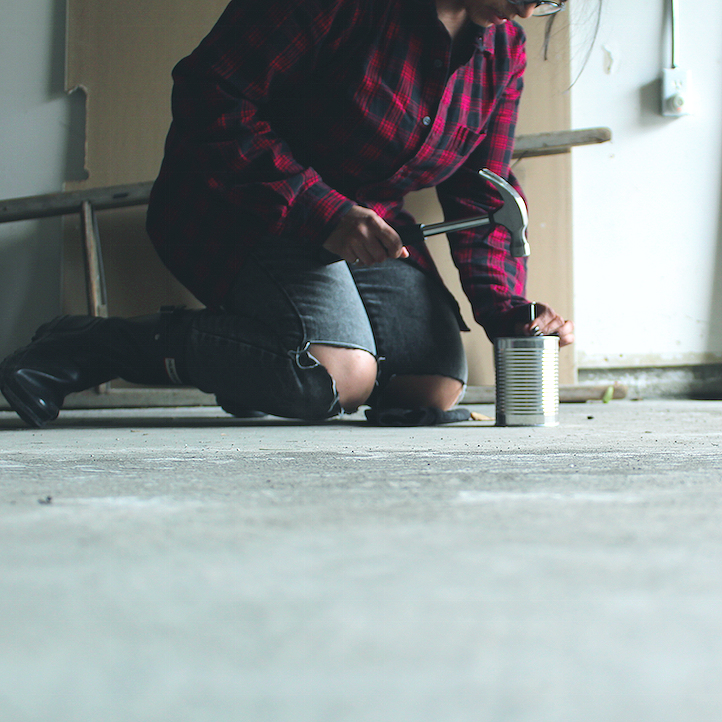

I started the process on Wednesday Afternoon after running some errands and during what I thought would be a nice car seat nap for Miss El. Unfortunately she woke up crying because of the hammering. So I had to finish planting the seeds the next day (after the girls’ bedtime) in the garage. I followed the directions on both the potting mix bag and the seeds envelope.
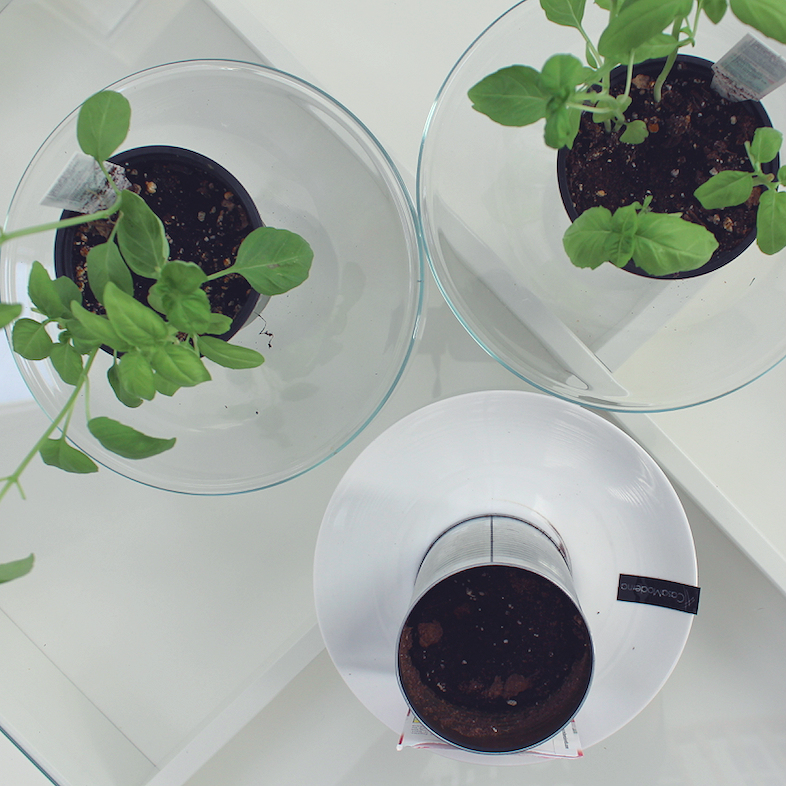
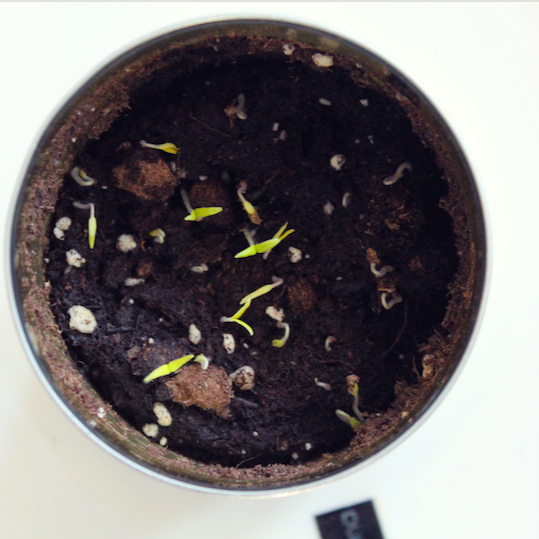
So within a few days, the tomato seeds sprouted. I was actually kind of shocked.

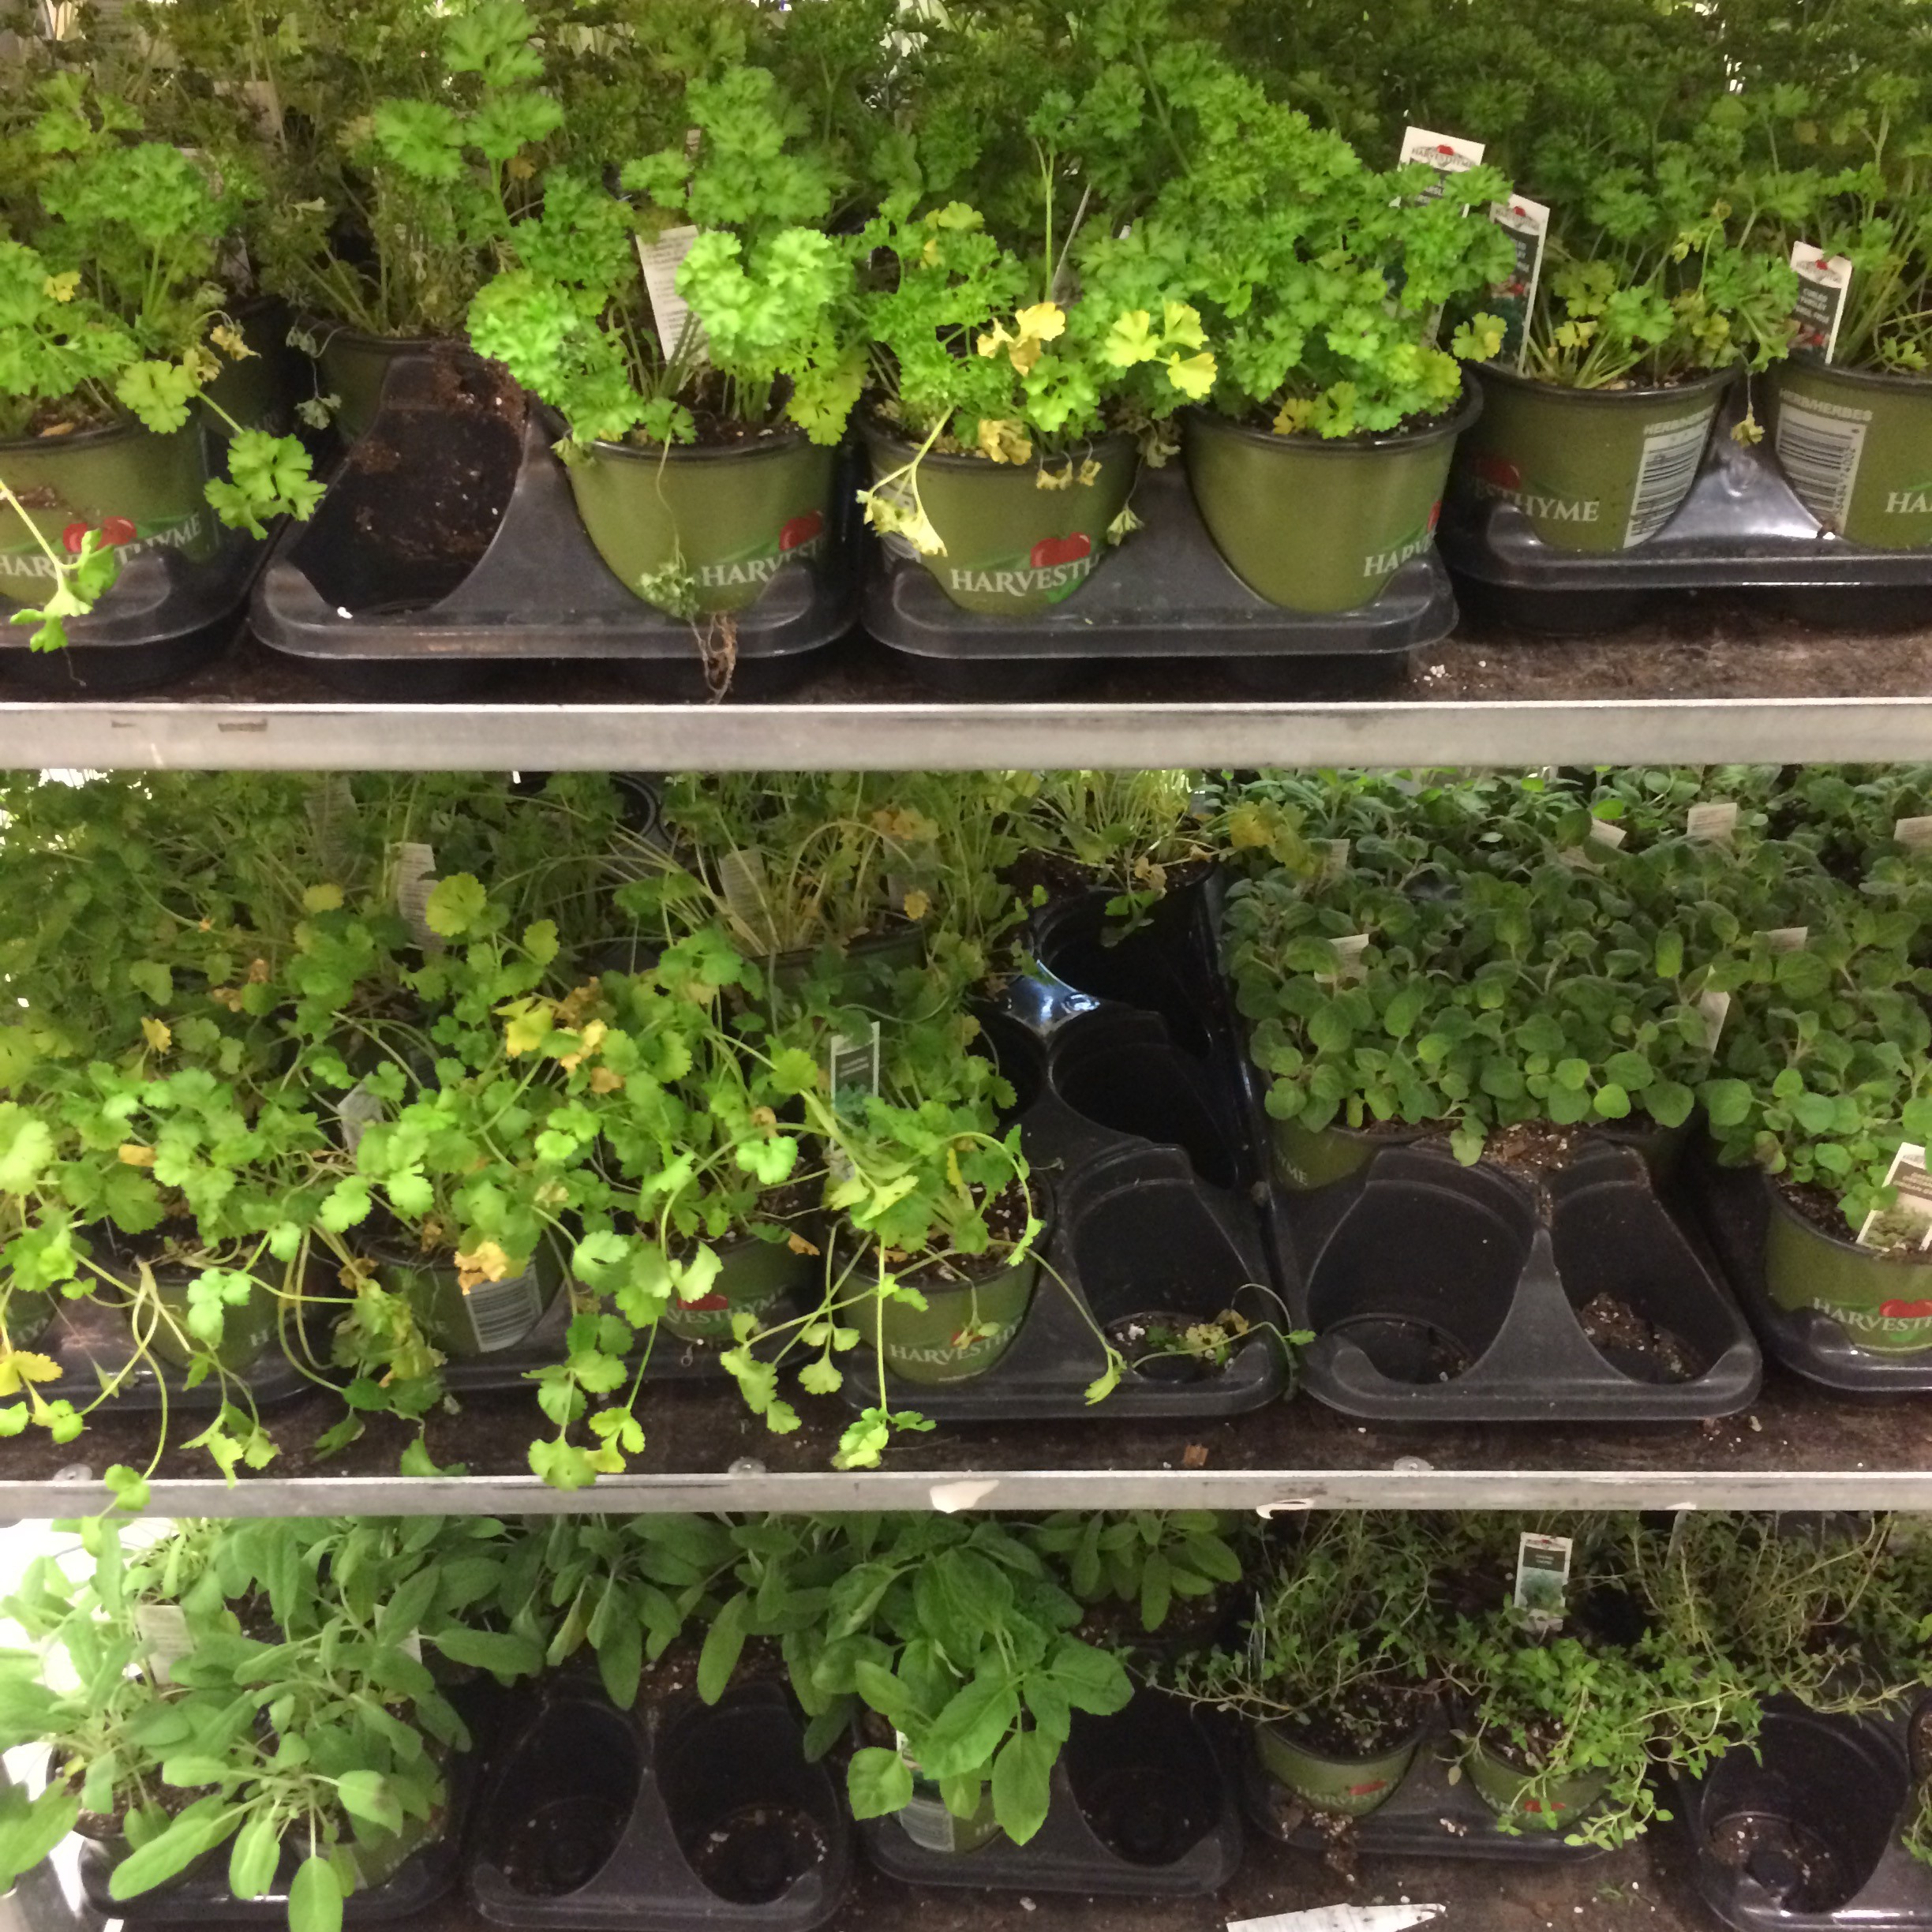
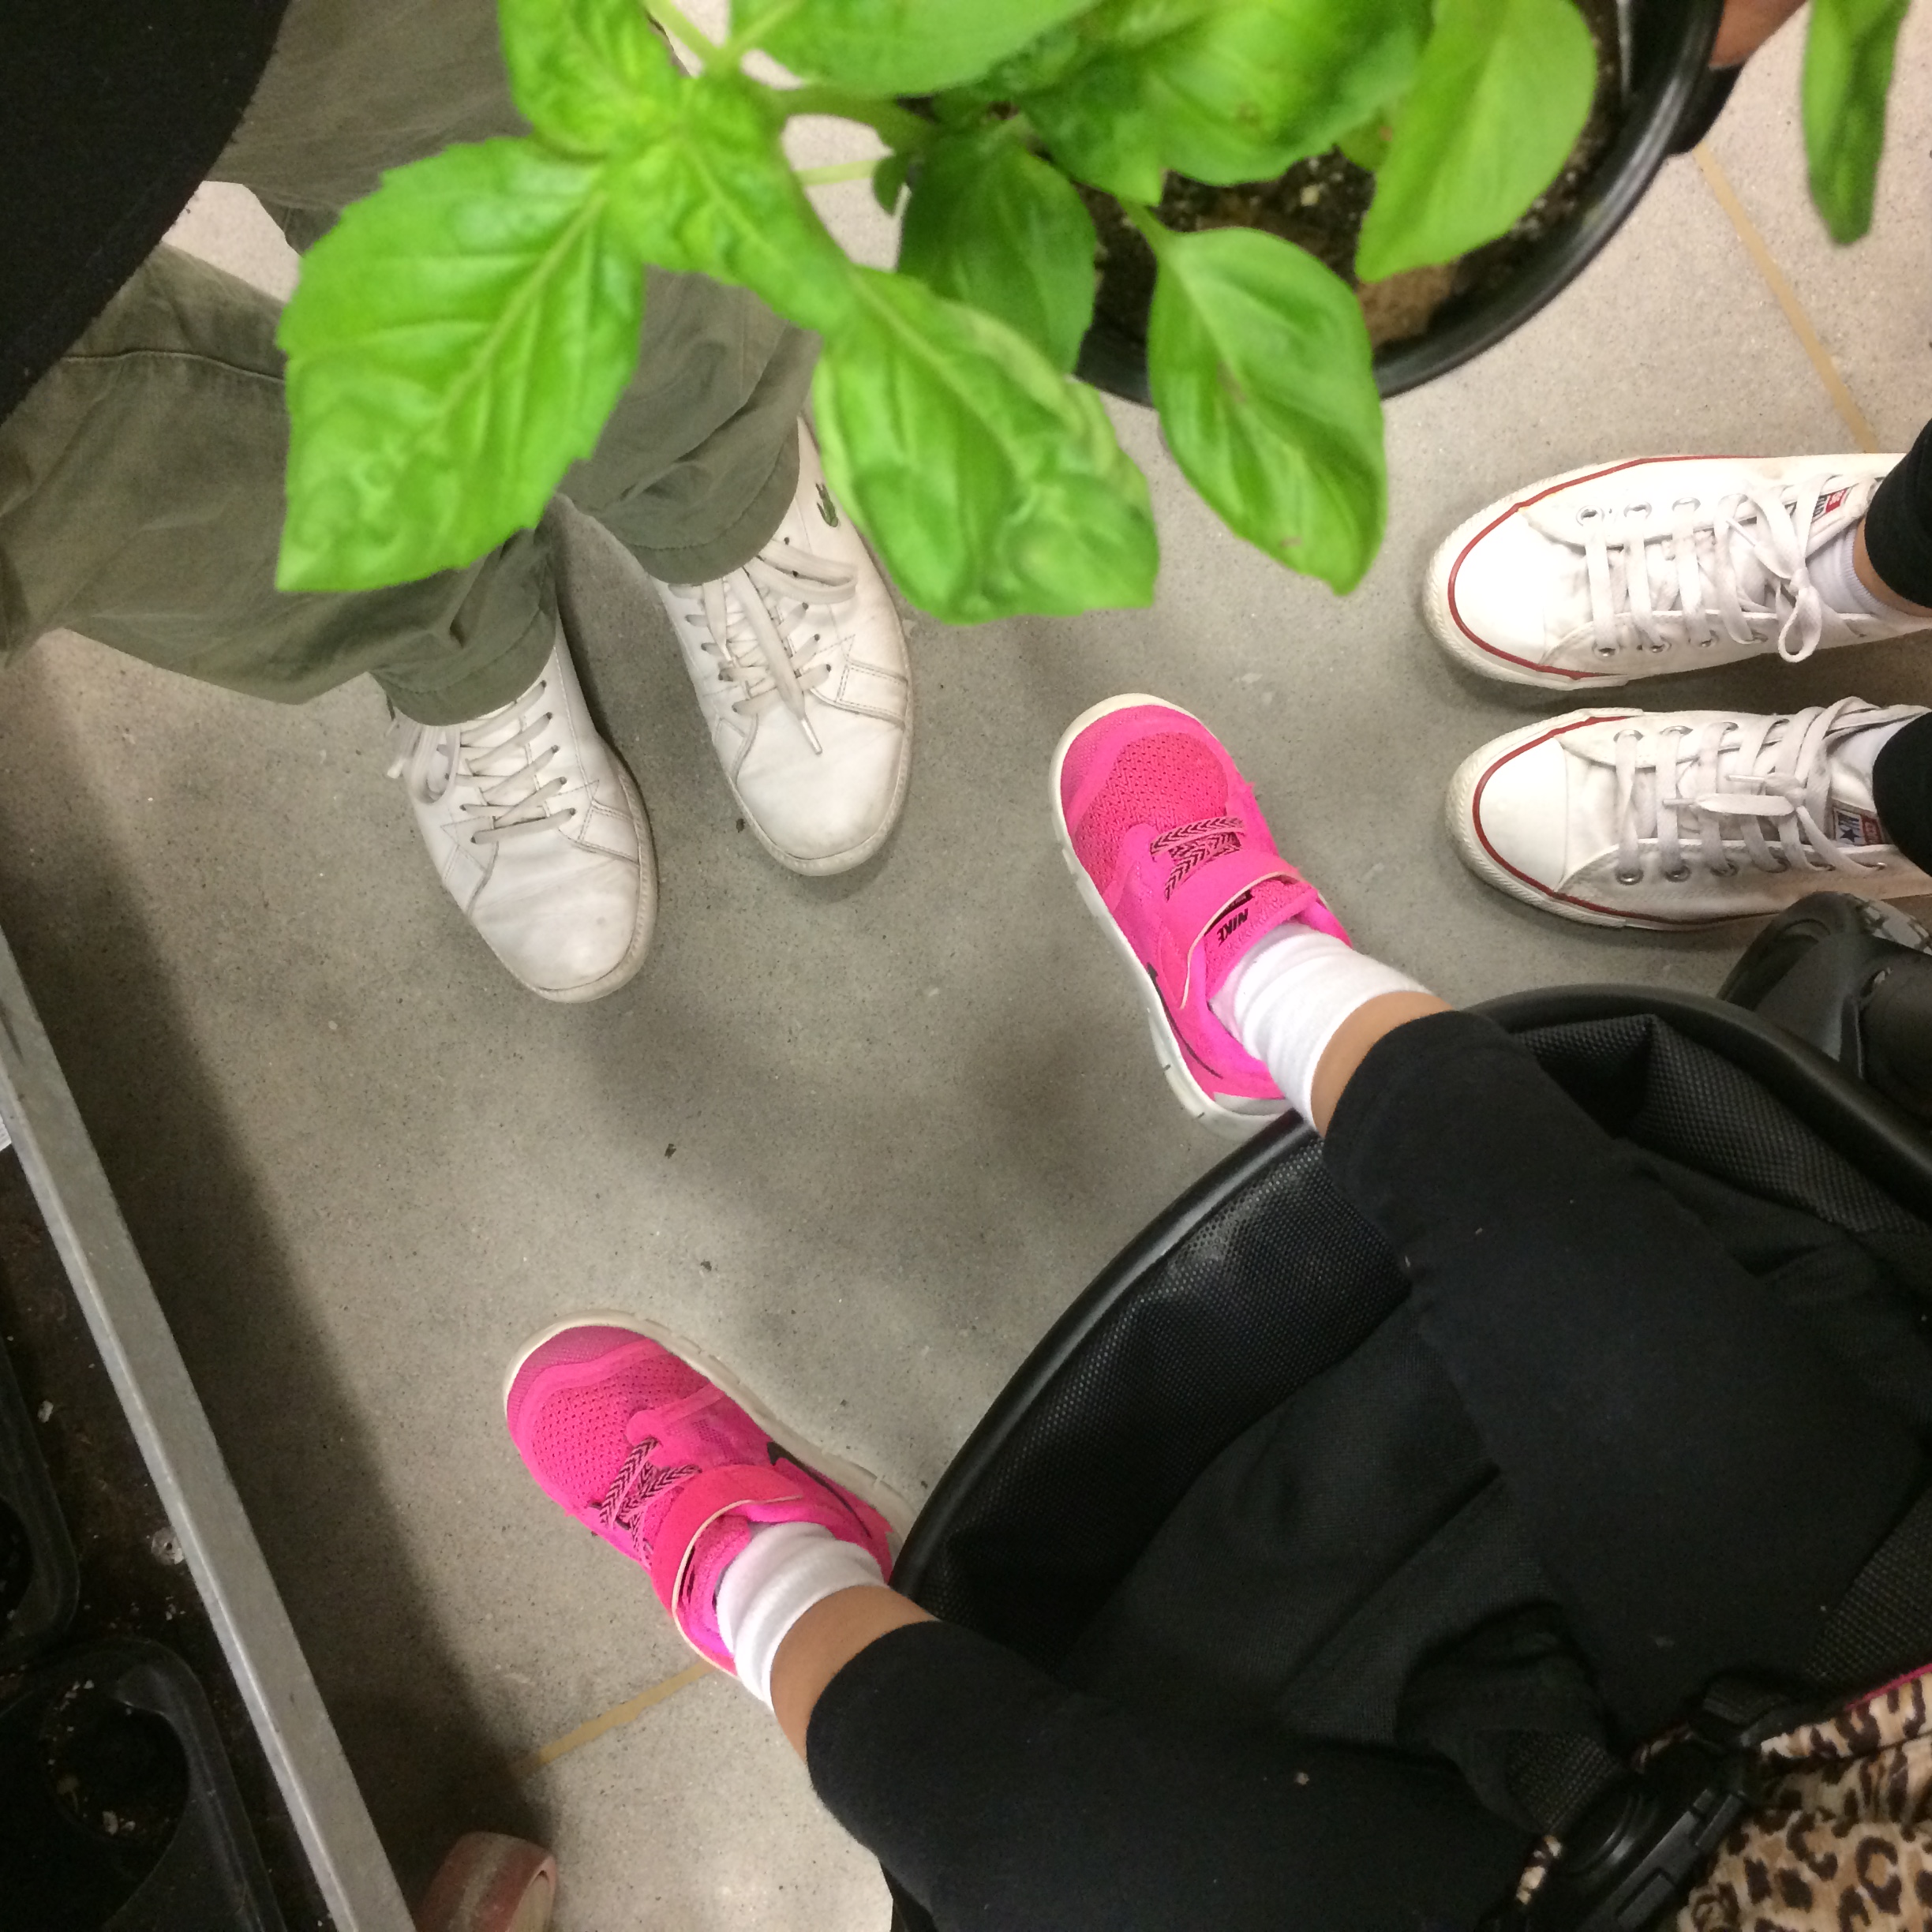
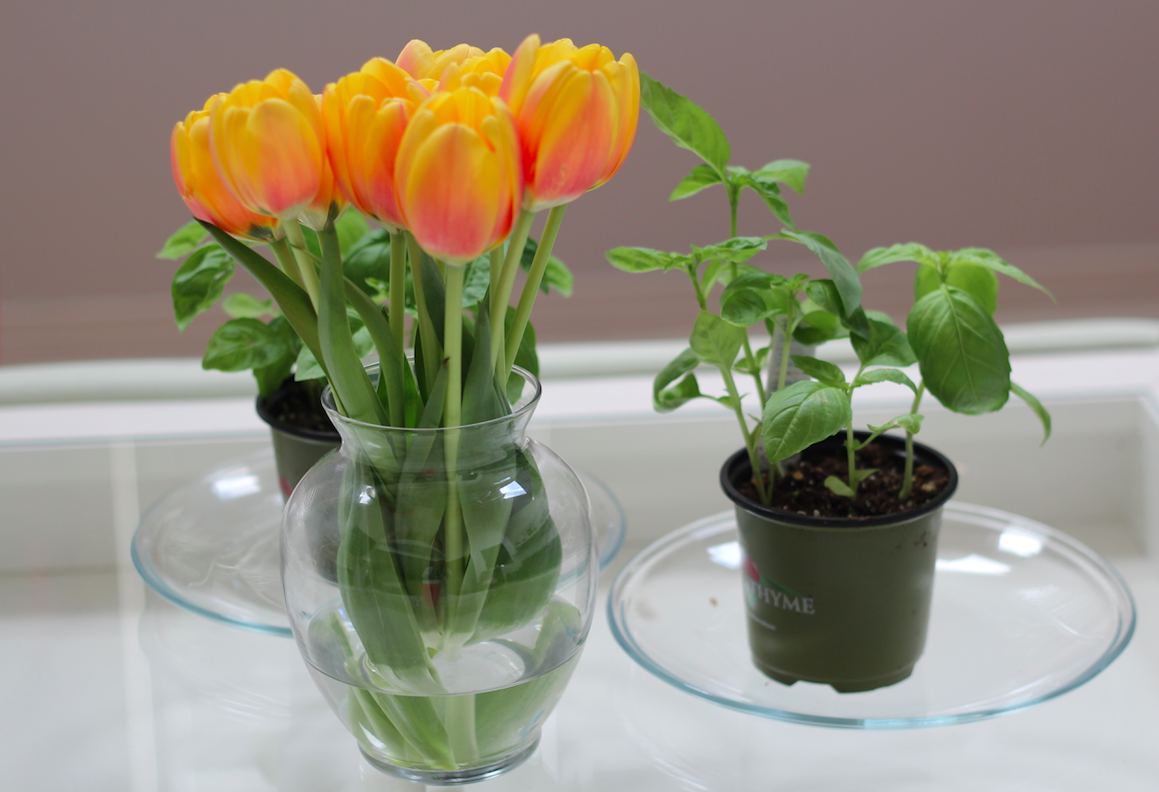
And with the basil I’ve harvested 5 times: 2 batches given to both sets of parents and twice I’ve eaten a caprese salad :) The last harvest is in the fridge most likely to be eaten in a caprese salad also.
To be completely honest I am petrified and exhilarated by this whole process. Here are my next steps
- Buy a real plant container
- Research how to transplant tomato seedlings and basil plants
- Re-research how to harvest basil
- Buy the “next level” of nutrient rich soil
- Transplant the plants to the new containers
- Get on a better schedule for watering
- Teach Miss S about the plants (mainly so she doesn’t accidentally destroy them)