Father’s Day Gift Guide 2017

When I was young I would always gift my dad a handmade gift from school or girl guides.  He still even has one of those gifts hanging in the garage (I think – will check next time I’m there and snap a pic).  Anywhooo – here are some gift ideas for Father’s Day.

FathersDay2017_final

Smart Phone Charger | Beverage of Choice | Silicone wedding band | Ankle Socks | Waterbottle

Planting Tomatoes & Gardening Next Steps

TLY_GardenUpdate9


TLY_GardenUpdate3I FINALLLLYY got around to planting some tomato seeds.  I picked up some ‘initial’ potting mix from Lowes and made a container with a pretty decent drainage system using a tin can and a plate (making the drain holes with a good ol hammer and nail).

TLY_GardenUpdate7

TLY_GardenUpdate2

I started the process on Wednesday Afternoon after running some errands and during what I thought would be a nice car seat nap for Miss El.  Unfortunately she woke up crying because of the hammering.  So I had to finish planting the seeds the next day (after the girls’ bedtime) in the garage.  I followed the directions on both the potting mix bag and the seeds envelope.

So within a few days, the tomato seeds sprouted.  I was actually kind of shocked.

TLY_GardenUpdate5 TLY_GardenUpdate6

And with the basil I’ve harvested 5 times: 2 batches given to both sets of parents and twice I’ve eaten a caprese salad :)  The last harvest is in the fridge most likely to be eaten in a caprese salad also.

TLY_GardenUpdate8

To be completely honest I am petrified and exhilarated by this whole process.  Here are my next steps

  • Buy a real plant container
  • Research how to transplant tomato seedlings and basil plants
  • Re-research how to harvest basil
  • Buy the “next level” of nutrient rich soil
  • Transplant the plants to the new containers
  • Get on a better schedule for watering
  • Teach Miss S about the plants (mainly so she doesn’t accidentally destroy them)

Banana Oat Pancakes + Coconut Cream

It was one those mornings, when we had no plans, no where to be and all the ingredients to make some fun home made pancakes!

tly_pancakes1 tly_pancakes2

I made some banana oat pancakes using this recipe and the melty coconut cream (lol) was made using this recipe.

tly_pancakes3 tly_pancakes4 tly_pancakes5We spent the rest of the day getting office space inspo at Ikea, getting my steps in at the mall and just taking it nice and easy!  #PerfectWayToSpendTheDay

Why I journal (and why you should too!)

TLY_Journal1

I’ve had a “paper and pen” journal for about 6-7 years.  I have used a journal different things:

  • To Do lists (or just lists of things in general)
  • Trip Planning
  • Photo/Post ideas
  • Bucket Lists
  • Gratitude/Affirmations
  • Goals/Dreams

TLY_JOurnal4

There are other things you can use a journal for:

  • “Dear Diary” type of journaling
  • Sketching
  • Scheduling your day/week/month (love love when you can customize a blank page journal to the planner of your dreams!)
  • Recipes

…obviously the options are endless…

Since I started journaling, I’ve research a lot about journaling and became kind of obsessed with the moleskin journal. I love moleskin because it has so many different types of journals but also the simple blank page or lined page journal perfect for sketching or free-thought-writing.

TLY_Journal3

For me personally, I’ve found that journaling has helped me:

  • Be more creative
  • Organize my thoughts
  • Be mindful
  • Brainstorm

I believe in journaling so much (good old fashion “paper to pen”) that when Miss S was a few months old, I got her her own moleskin (8×11, blank page).  We do all sorts of art projects (seasonal or just something fun) and I usually write a little note about what’s going on that day.  I hope one day she’ll see the benefits of it too.

TLY_Journal2

Screen Shot 2016-07-20 at 3.41.27 PM

#CookieMonster + Recipe

Despite the weather, we had a great weekend.
We took Miss for her first hair cut on Saturday which was quite pleasurable experience.  She looked like a doll during the entire process and her hair no longer resembles a mullet.  Later in the day, we met some friends and went to Fantasy Fair.  I haven’t been there since I was a kid (maybe 9-10 years old).  I remember it being a huge magical place full of midway rides and indoor play area which had THE-BEST slides and ball pit.  It was all that and more.  Just to see the sparkle in her eyes as she saw all the fun she was about to have.  Of course every ride came with a lesson in patience because we didn’t do what my parents used to do (aka one parent waits in line while the other has the kid at another attraction).
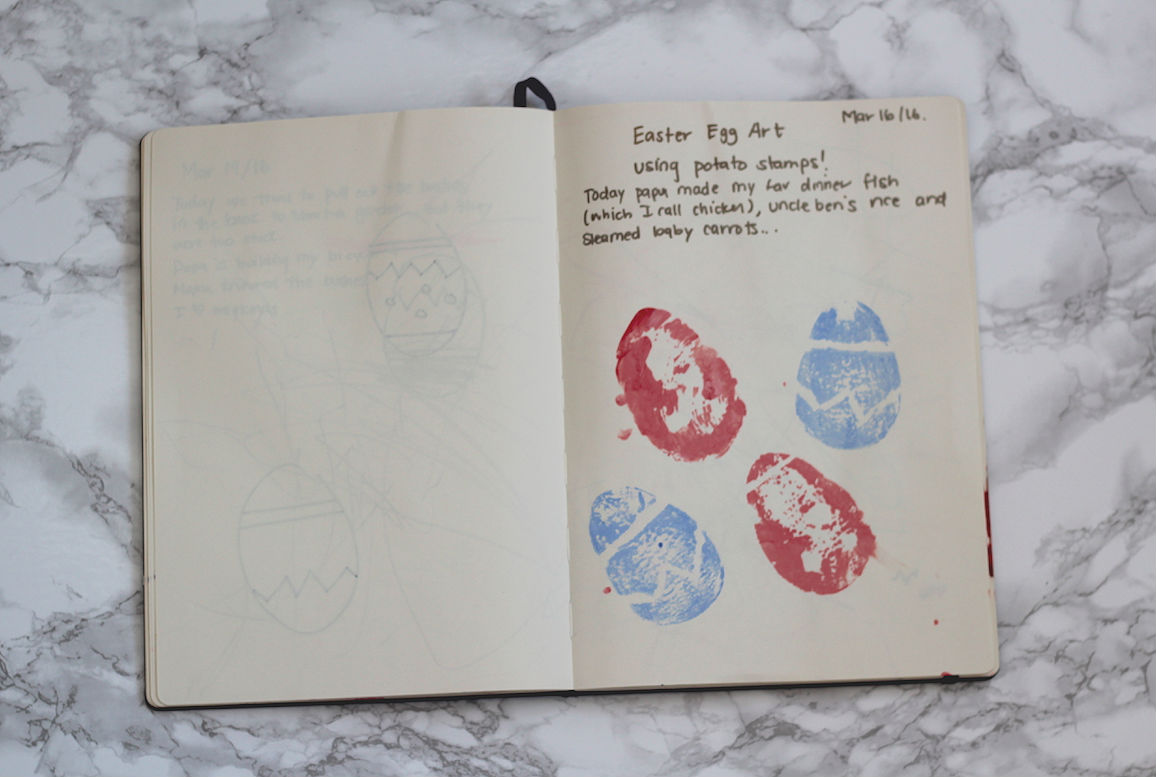
Speaking of when I was a kid, since as long as I can remember… I’ve always been a cookie monster.  But it wasn’t until recently that I thought I should start making them from scratch.  I’ve got a handle on a few recipes and wanted to share them :)
TLYBlog_PinterestCookies
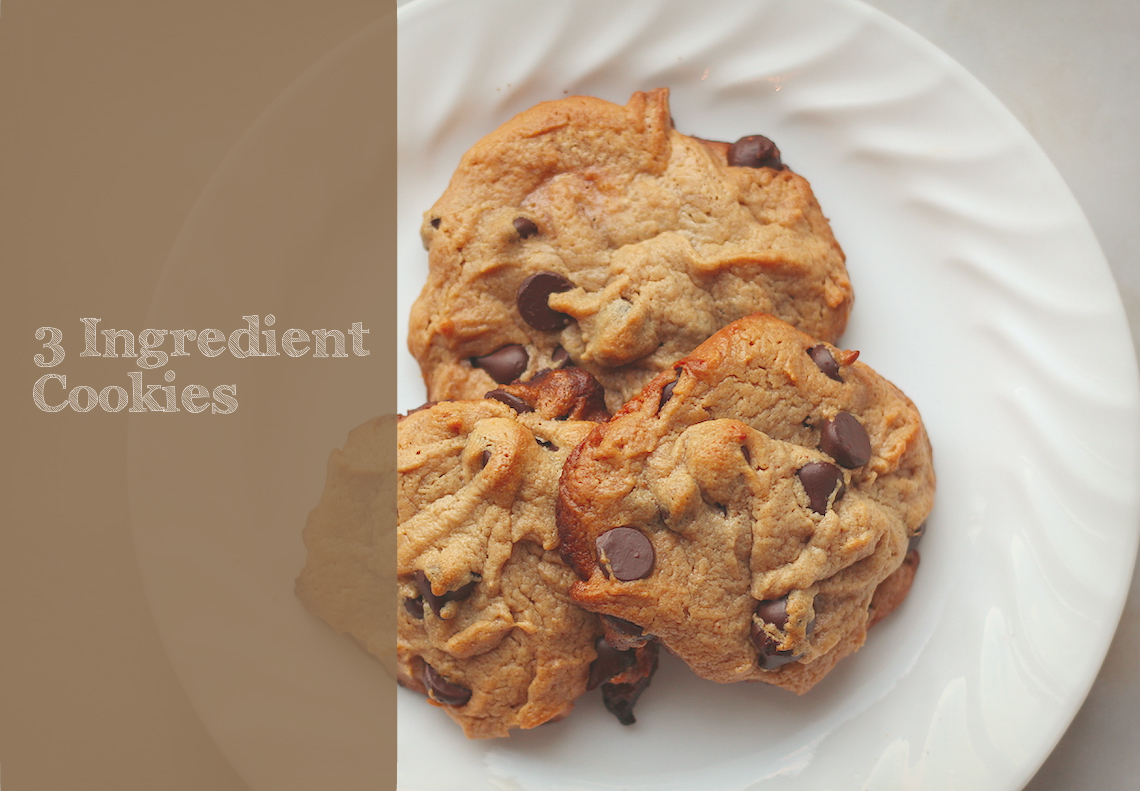
This first one is perfect for the mid-week (or mid-day) pick me up.  When it only requires 3 ingredients who’s is going to complain!
½ Cup of peanut butter
1 tablespoon of honey
1 Egg
Optional:
Chocolate Chips
Walnuts
Raisons
  1. Preheat oven to 350 Degrees
  2. Mix 3 ingredients together in a bowl (mixture will be gooey and shiny)
  3. Place a heaping table spoon of cookie mixture on a wax paper covered cookie sheet, continue placing heaping tablespoons of the cookie mixture 2 inches apart
  4. Bake for 15 minutes, remove from oven and let stand for 5 minutes before eating scoffing down a dozen LOL
Sidebar: If you want to add the optional items, do so after the 3 ingredients are mixed well! (as you can see I added chocolate chips)
Cookies taste even better the day after (I stored them in the fridge and they were soo soft!)
TLYBlog_PinterestCookies3

4 Steps to Master & Enjoy Your First Art Sale LearnWithTLY

VOAK_20160126a
VOAK_20160126b
VOAK_20160126c

I am starting my blog series with 4 tips on how to MASTER & ENJOY your first Art Sale.

I was planning on writing a debrief of my experiences at the #VaughanOfAKindShow but that happened over 4 months ago and I figured I could post something more helpful!   I’d love to hear your thoughts on how you prepared for your first art show or community craft sale so leave me some comments down below and come #LearnWithTLY!!

  1. Get a handled on your product offering and prices:  This is one area I am definitely going to improve on when I do another show.  It’s best to have your products and pricing completed 1.5-2 weeks in advance.  If not, you’ll feel flustered when your prints are not ready at the photo-lab *points at self*
  2. Start advertising early: Blog, Email, Twitter or Facebook post about your upcoming event (including all the details of time and location) a few weeks leading up to the event.  You may think you are bombarding people but your friends and family can be your test customers (think A/B testing) so giving them the details they need so they can come visit and support you (no pressure!)
  3. Design your booth to be inviting to your customers: Design a booth that will invite your customers to be able to really see your product (even pick up and inspect.  I used clear plastic envelopes so I didn’t cringe when people picked up a product.  Local fairs and sales are really about the community so everyone who comes by your booth is both a potential customer and a neighbour :)
  4. Be ready to make sales: Be friendly, have a credit card payment device + money box with cash on hand, offer a show discount, have bags for your product after it’s been purchased, come with plenty of business cards (including your email and social media accounts), bring water and snacks

I hope my tips help – I know I’ll be reviewing them when the next fair and sales comes around!