Getting this Garden Started

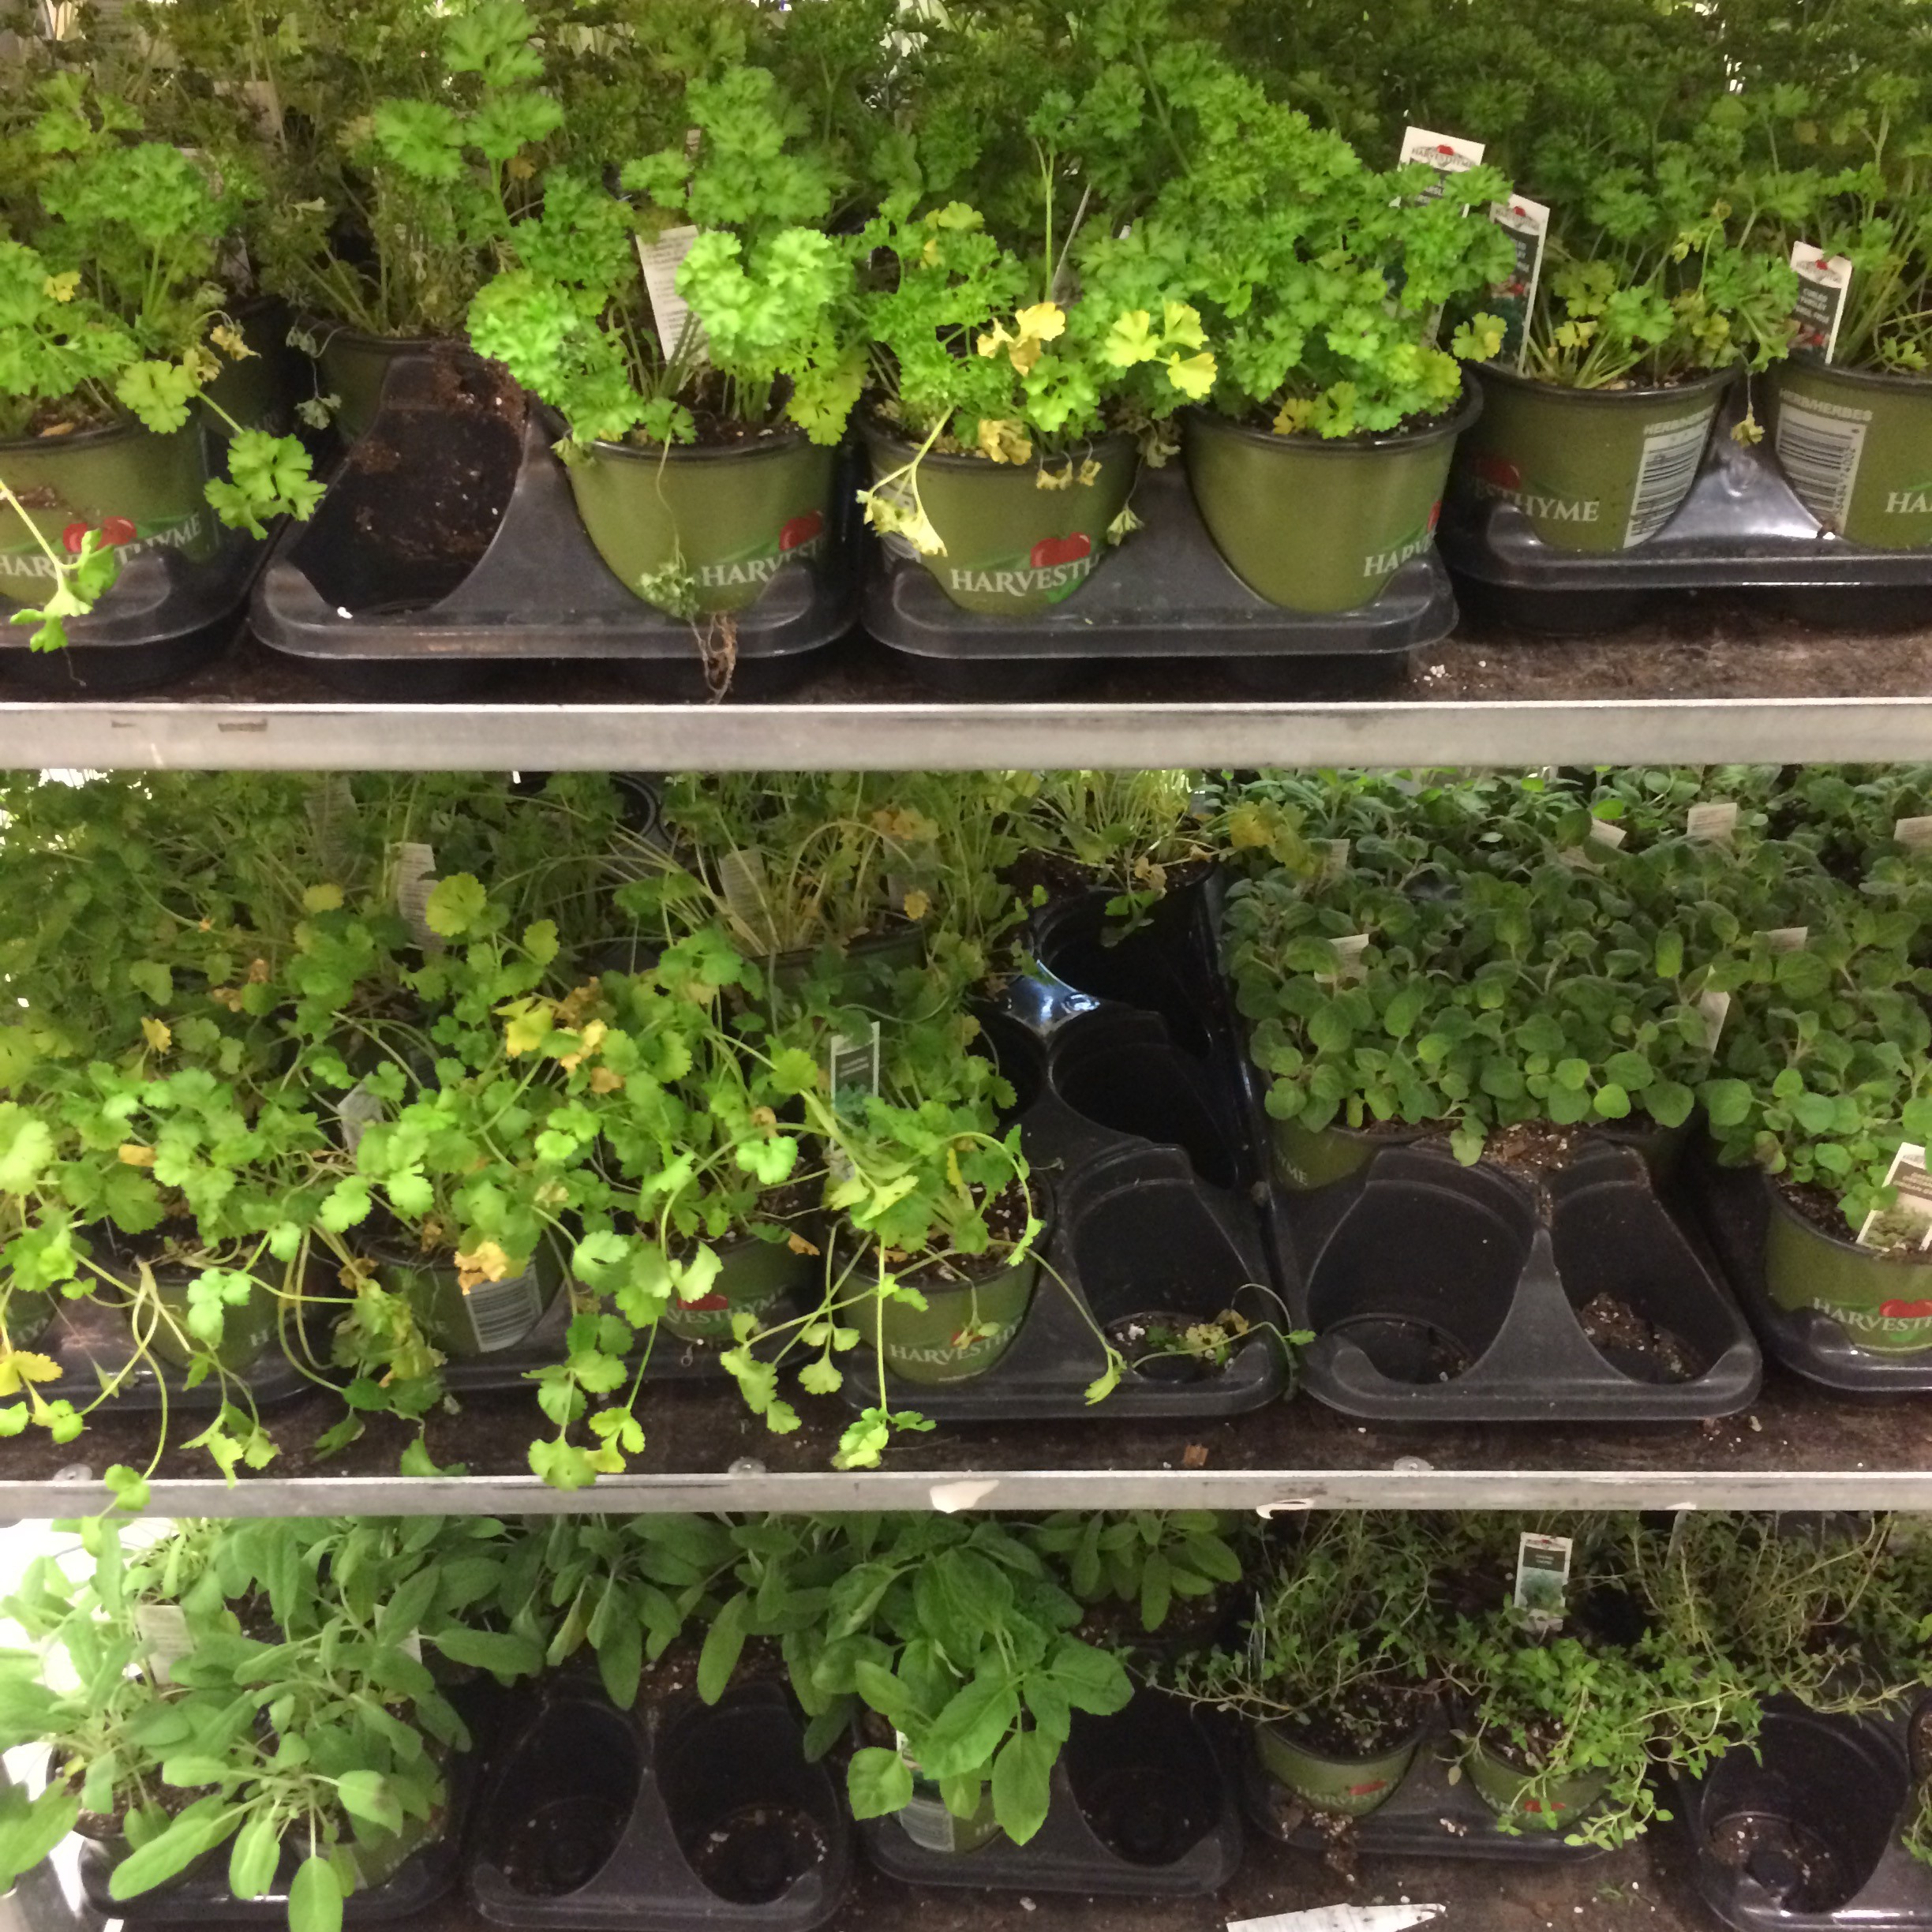
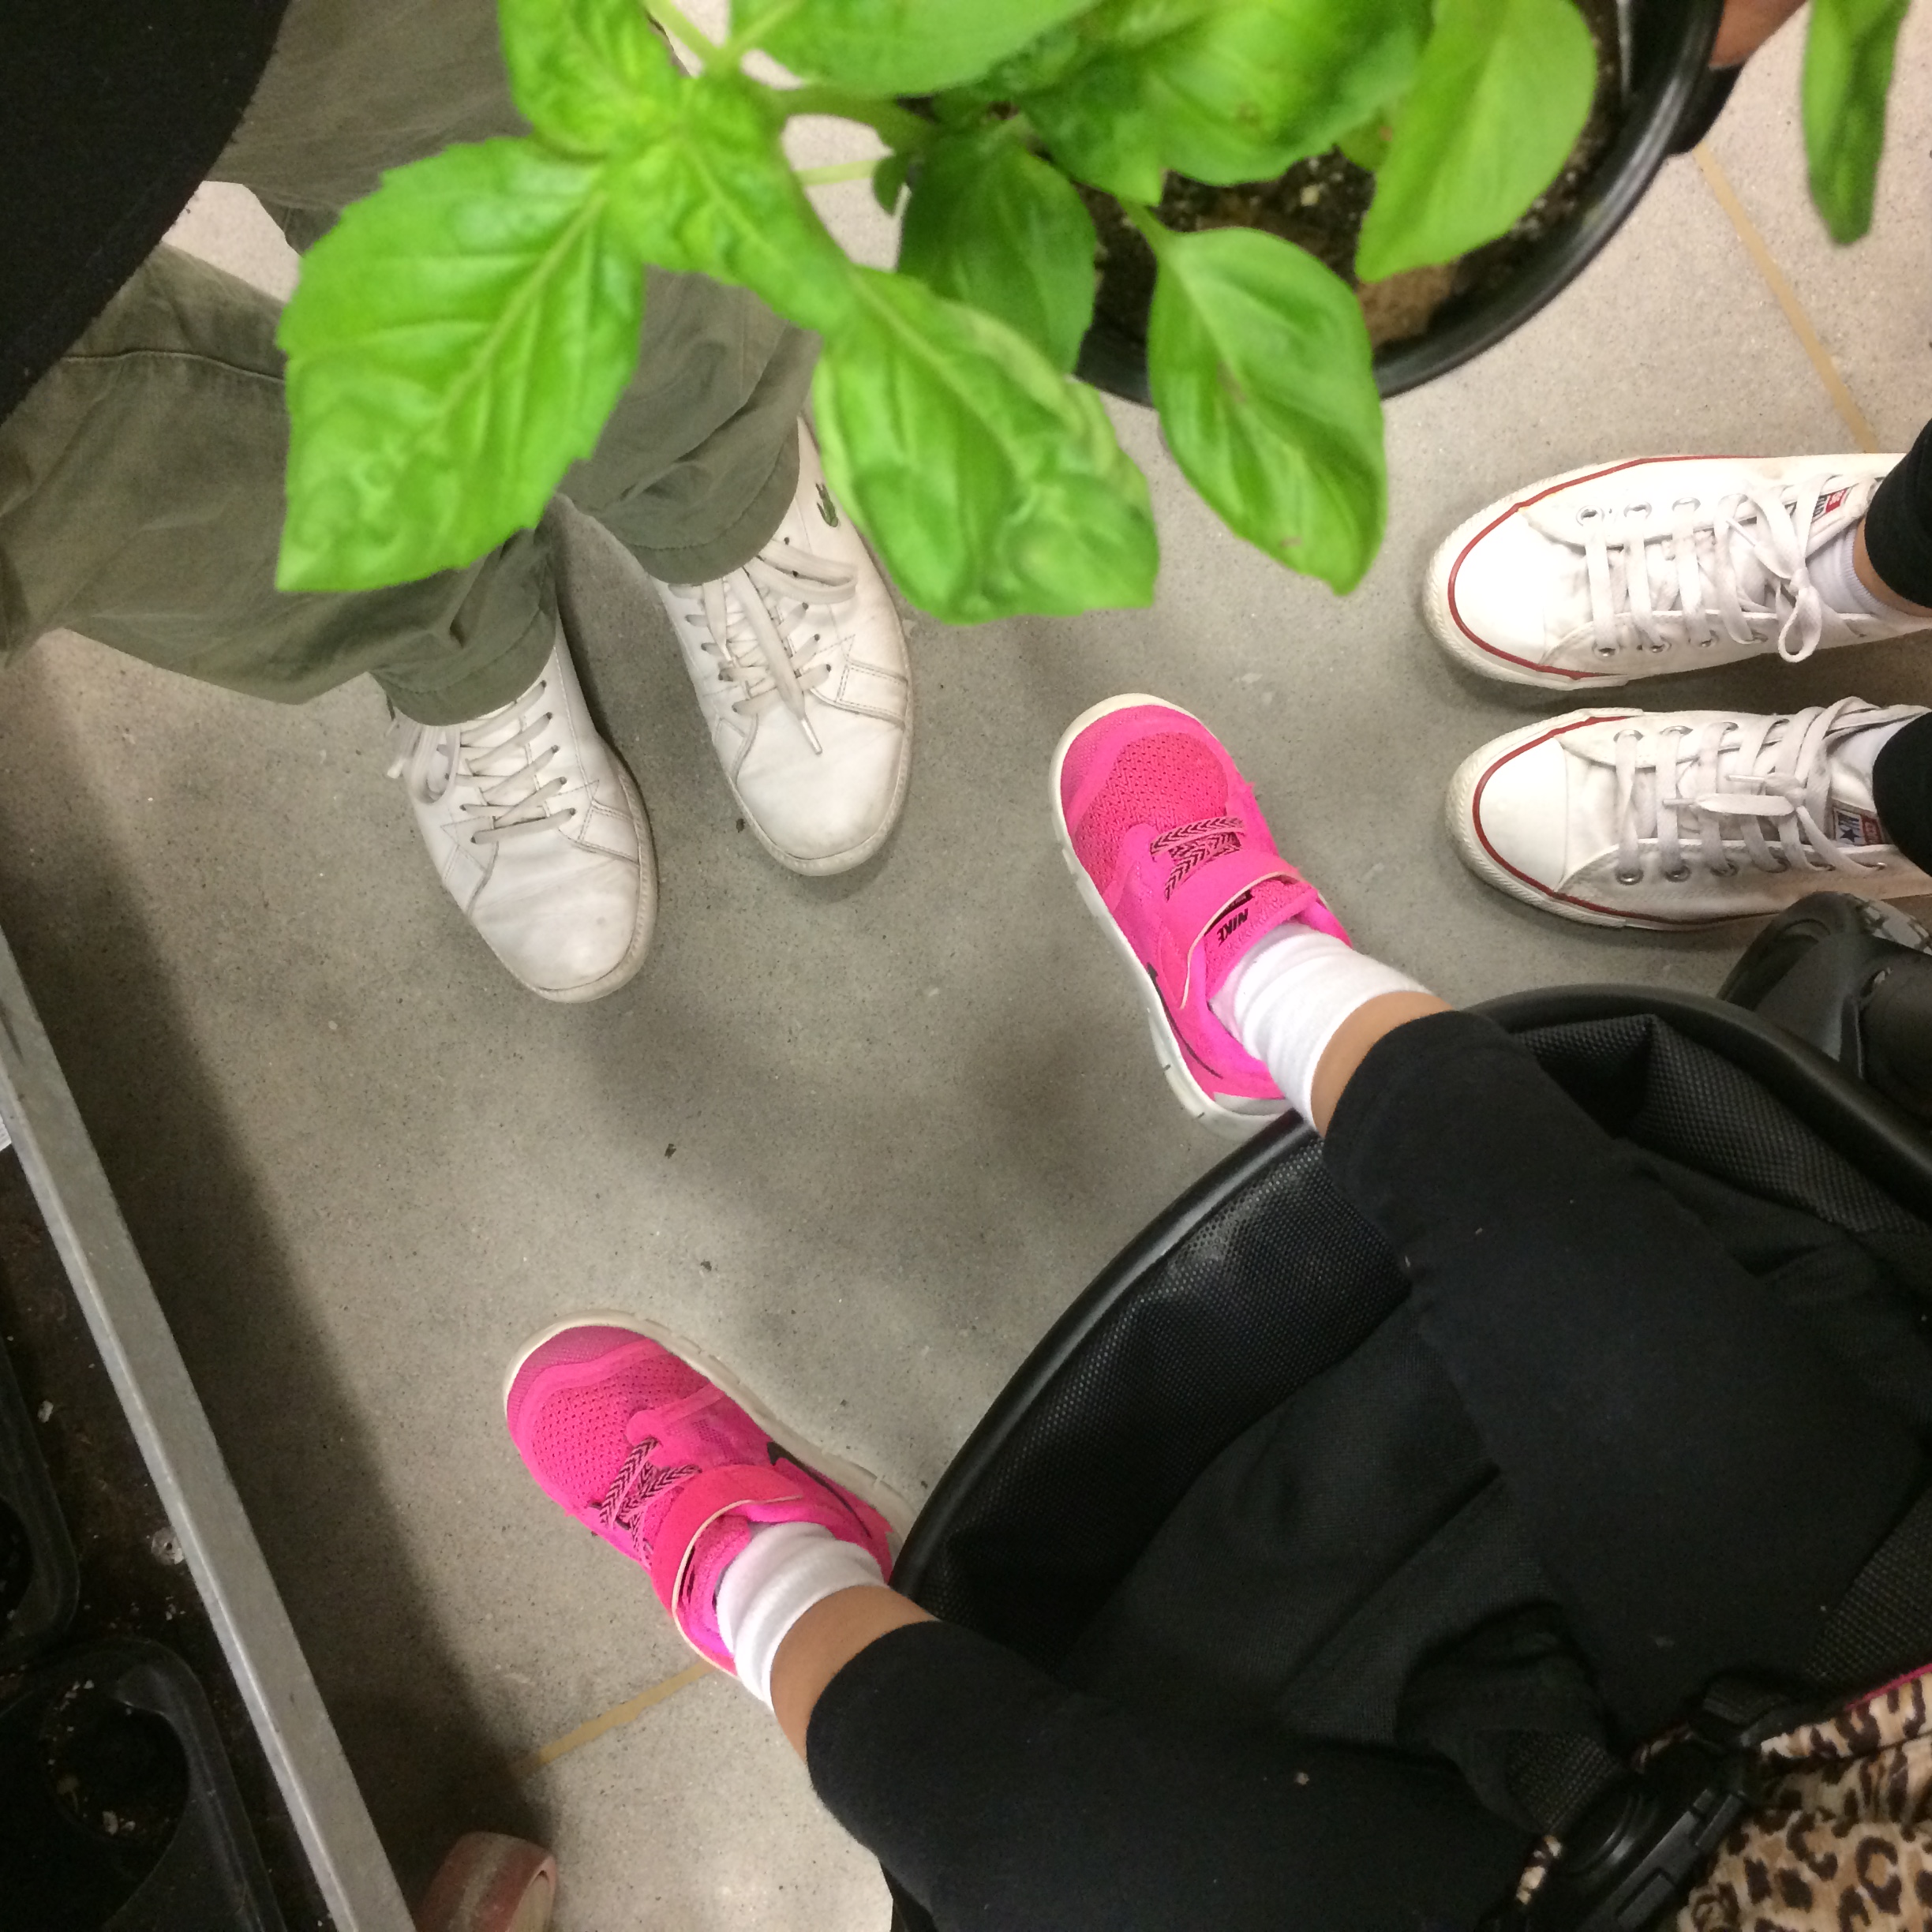
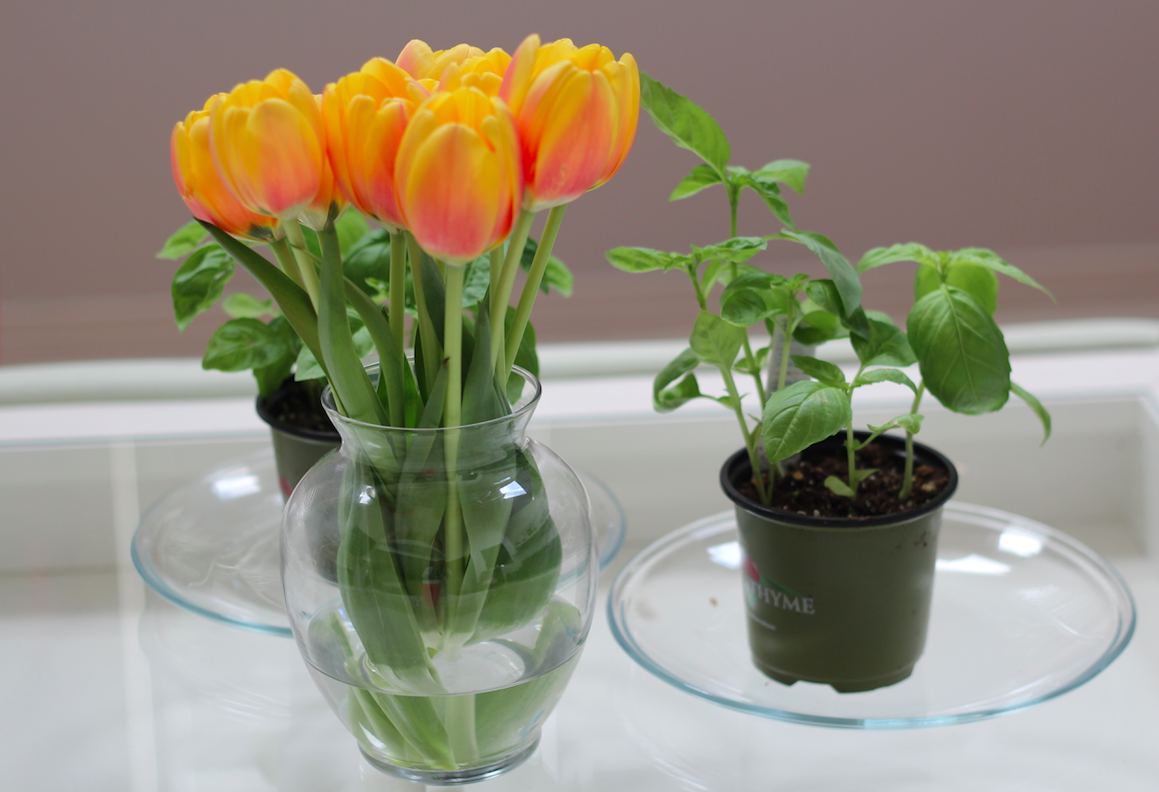
So I finally took the first steps to building a backyard garden.  Albeit they are baby steps.  We bought 2 sweet basil plants. For now they are hanging out in their default plastic planters and with their original nutrient rich soil.  I have big plans from these small beginnings.

TLY_GardenStarting1 TLY_GardenStarting2

TLY_GardenStarting6

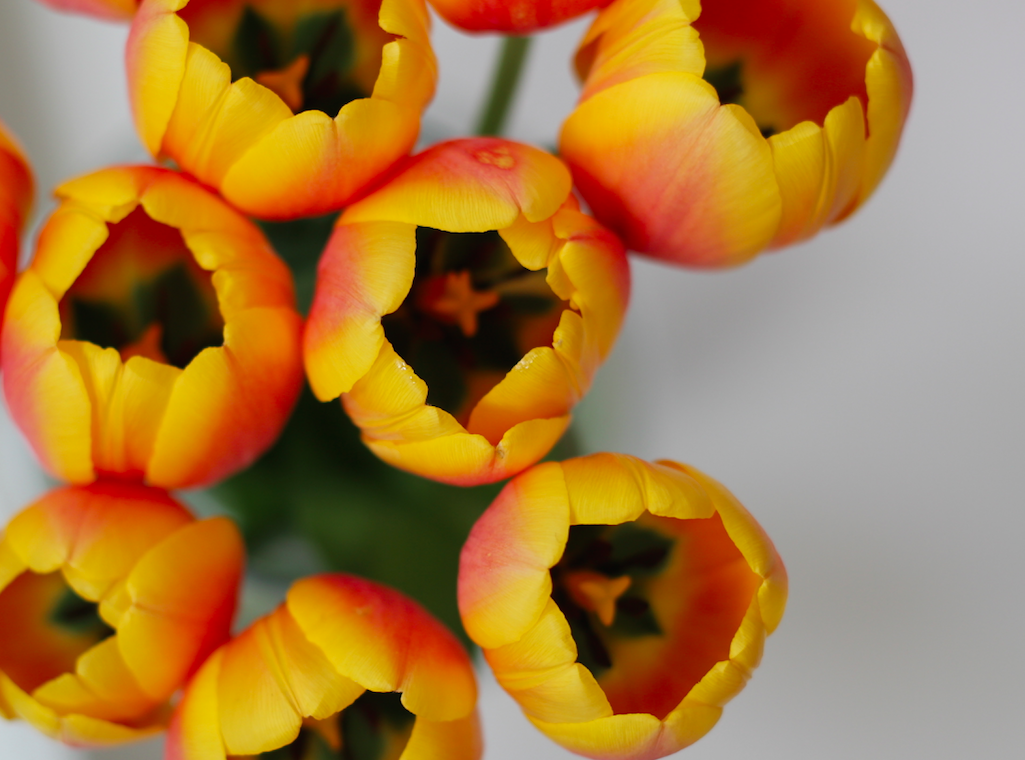
Tulips from the Hubz

TLY_GardenStarting5 TLY_GardenStarting4 TLY_GardenStarting3

  • Find [kid friendly] planter(s) with good drainage
  • Buy more herbs (cilantro and dill for sure) and tomato seedlings
  • Move all plants to their new home planters (which I heard is a process)

For now the plants are sitting on our coffee table because the family room has the most light in the house.  I’ve been monitoring the soil and the overall “hefty-ness” of the planter to judge how much water is needed (at the advice of the lady in the Lowes garden centre).

Banana Oat Pancakes + Coconut Cream

It was one those mornings, when we had no plans, no where to be and all the ingredients to make some fun home made pancakes!

tly_pancakes1 tly_pancakes2

I made some banana oat pancakes using this recipe and the melty coconut cream (lol) was made using this recipe.

tly_pancakes3 tly_pancakes4 tly_pancakes5We spent the rest of the day getting office space inspo at Ikea, getting my steps in at the mall and just taking it nice and easy!  #PerfectWayToSpendTheDay

#ItsBakingSeason Pumpkin Chocolate Chunk Muffins

So a few weeks ago, I finally made these bad boys.
They are so tasty (and filling – hello pumpkin).  Buuuuuuuttttt kind of a pain to make….meaning I am definitely on the lookout for something easier for a baking novice like me.

ItsBakingSeason


Why I journal (and why you should too!)

TLY_Journal1

I’ve had a “paper and pen” journal for about 6-7 years.  I have used a journal different things:

  • To Do lists (or just lists of things in general)
  • Trip Planning
  • Photo/Post ideas
  • Bucket Lists
  • Gratitude/Affirmations
  • Goals/Dreams

TLY_JOurnal4

There are other things you can use a journal for:

  • “Dear Diary” type of journaling
  • Sketching
  • Scheduling your day/week/month (love love when you can customize a blank page journal to the planner of your dreams!)
  • Recipes

…obviously the options are endless…

Since I started journaling, I’ve research a lot about journaling and became kind of obsessed with the moleskin journal. I love moleskin because it has so many different types of journals but also the simple blank page or lined page journal perfect for sketching or free-thought-writing.

TLY_Journal3

For me personally, I’ve found that journaling has helped me:

  • Be more creative
  • Organize my thoughts
  • Be mindful
  • Brainstorm

I believe in journaling so much (good old fashion “paper to pen”) that when Miss S was a few months old, I got her her own moleskin (8×11, blank page).  We do all sorts of art projects (seasonal or just something fun) and I usually write a little note about what’s going on that day.  I hope one day she’ll see the benefits of it too.

TLY_Journal2

Screen Shot 2016-07-20 at 3.41.27 PM

4 Steps to Master & Enjoy Your First Art Sale LearnWithTLY

VOAK_20160126a
VOAK_20160126b
VOAK_20160126c

I am starting my blog series with 4 tips on how to MASTER & ENJOY your first Art Sale.

I was planning on writing a debrief of my experiences at the #VaughanOfAKindShow but that happened over 4 months ago and I figured I could post something more helpful!   I’d love to hear your thoughts on how you prepared for your first art show or community craft sale so leave me some comments down below and come #LearnWithTLY!!

  1. Get a handled on your product offering and prices:  This is one area I am definitely going to improve on when I do another show.  It’s best to have your products and pricing completed 1.5-2 weeks in advance.  If not, you’ll feel flustered when your prints are not ready at the photo-lab *points at self*
  2. Start advertising early: Blog, Email, Twitter or Facebook post about your upcoming event (including all the details of time and location) a few weeks leading up to the event.  You may think you are bombarding people but your friends and family can be your test customers (think A/B testing) so giving them the details they need so they can come visit and support you (no pressure!)
  3. Design your booth to be inviting to your customers: Design a booth that will invite your customers to be able to really see your product (even pick up and inspect.  I used clear plastic envelopes so I didn’t cringe when people picked up a product.  Local fairs and sales are really about the community so everyone who comes by your booth is both a potential customer and a neighbour :)
  4. Be ready to make sales: Be friendly, have a credit card payment device + money box with cash on hand, offer a show discount, have bags for your product after it’s been purchased, come with plenty of business cards (including your email and social media accounts), bring water and snacks

I hope my tips help – I know I’ll be reviewing them when the next fair and sales comes around!