
Today is Diwali (the Festival of Lights celebrated by Indians!)

I figured today would be a good day to post about this QUICK & EASY DIY gift wrapping idea that I planned for my parents. It’s honestly something you can whip together before any evening festivities you may have today. Or prep in advance for a weekend celebration.
Exchanging mitahi (boxes of very rich flavoured Indian sweets) is customary at Diwali. My family is pretty liberal in our sweets exchange as most of my family doesn’t really eat the typical Indian sweets all that much. The siblings usually give each other chocolates and to the parents we’ll give a mix of dry fruits and nuts.
I loved this wrapping for Diwali but of course this could be used at Christmas or for a hostess gift!
Here’s a quick tutorial on how to recreate this wrapping for your family and friends:
What you’ll need:
Assorted nuts (I went with cashews and almonds, both dry roasted and unsalted because they are the best!)
Wide mouth mason jars with caps
Tissue wrapping in festive colours (2)
Ribbon
Tape
Scissors
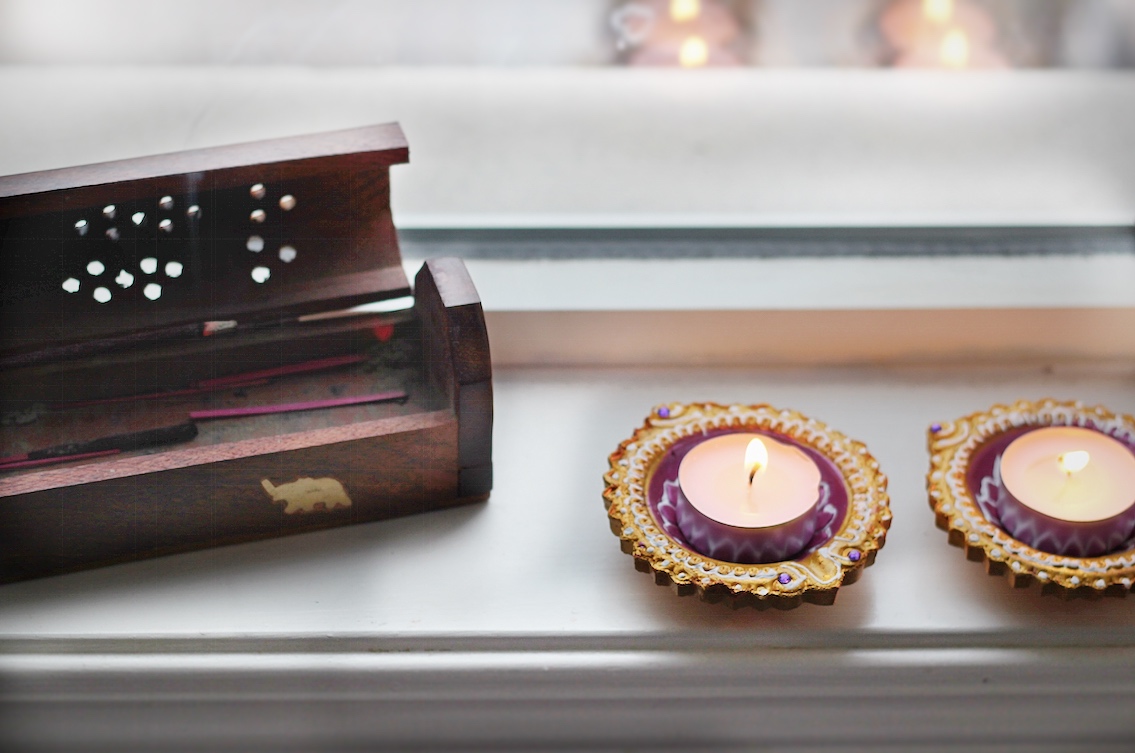
Optional: dry fruit, indivially wrapped chocolate, diyas, name tag
What you’ll need to do:
First fill the jar with the goodies you have and close the lid.
On a flat surface, place the tissue papers (different colours) one on top of each other. Start by folding the layered issue paper 1-inch on to itself, continue folding over in the same direction by 1-inch, until you get to the end of the paper.
You can then fold the other end of the layered tissue paper and tape that folded end to make a clean end.
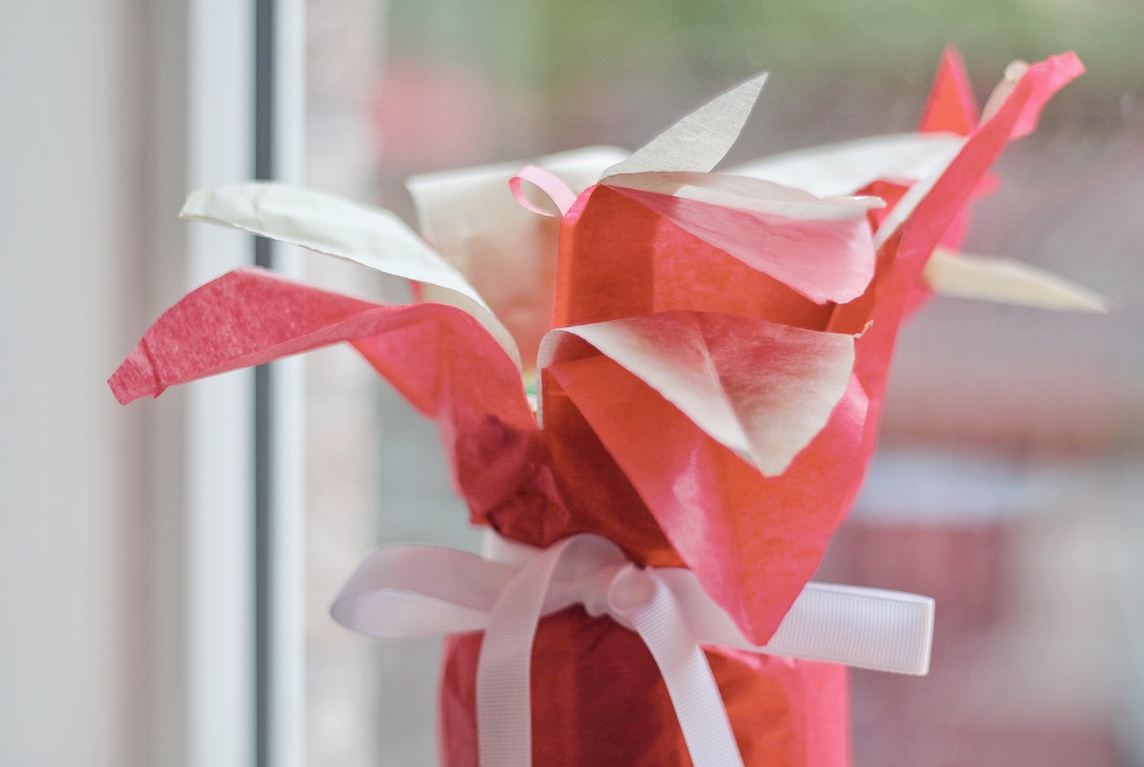
Take the folded tissue paper and cut a diagonal line approximately 3 inches from the top (if you do a curved line it will make the top look like plant leaves). Open the tissue paper and lay flat again.
Take your mason jar and roll the paper around the jar. You should keep about 2 inches near the end closest to the bottom of the jar (cut of excess paper if need be) and the leaves of tissue paper should be near the mouth of the jar. Make sure to tape the paper to the jar before you start rolling and the folded over end of tissue paper back to the paper on the jar.
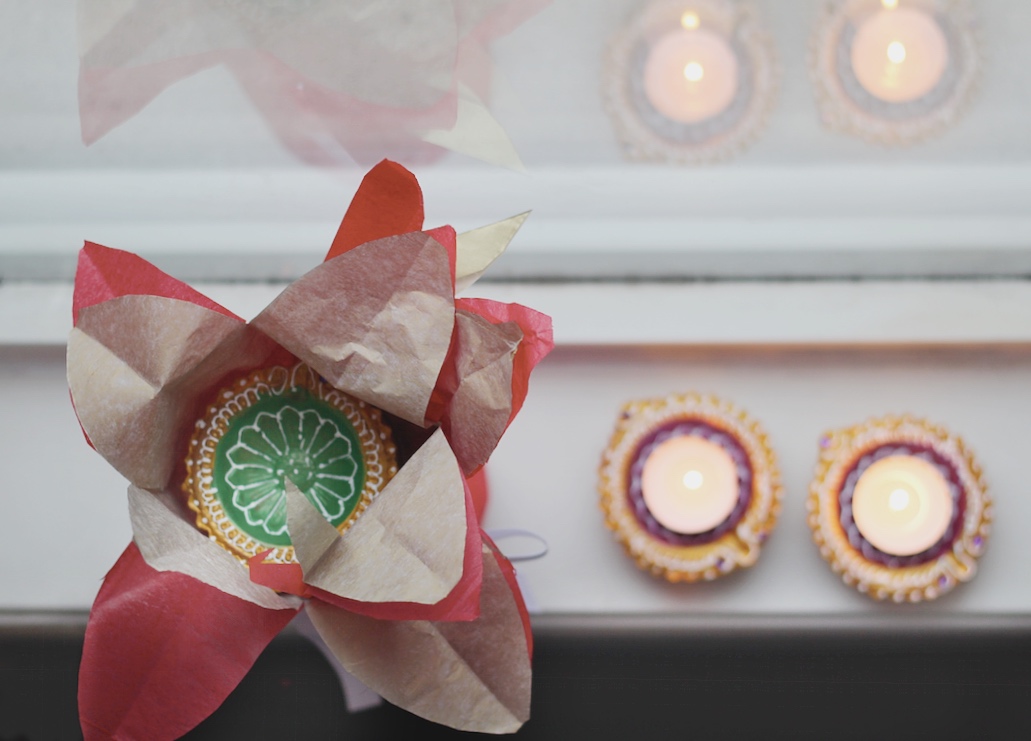
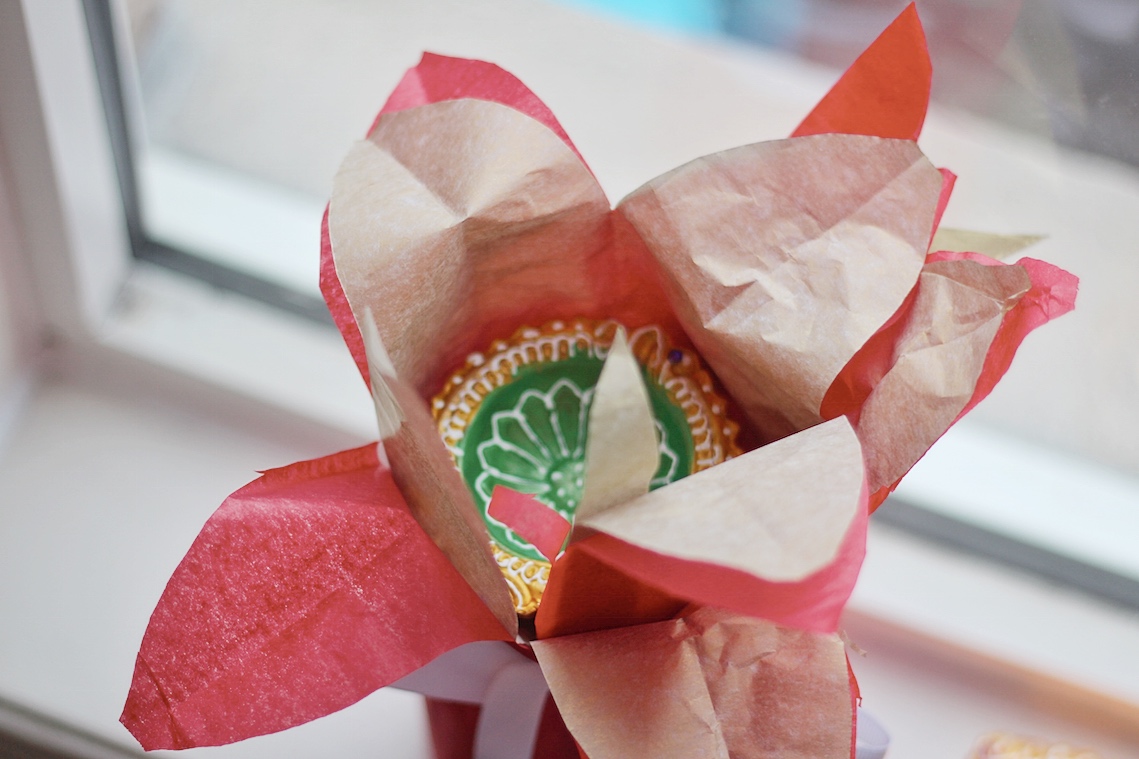
Wrap the ends of paper to the bottom of the jar and feel free to make deep cuts on the “leaves” to open them up more.
Use the ribbon to tie a bow around the paper that is covering the lid of the jar. Plump up the tissue paper leaves, tape a diya to the lid or add a name tag. And voila!